引言
本篇将介绍最近在Dell PowerEdge R420服务器上折腾
Ubuntu Server 20.04LTS的一些笔记分享。
Ubuntu是一个以
桌面应用为主的Linux操作系统,其名称来自非洲南部祖鲁语或豪萨语的“ubuntu”一词,意思是“人性”“我的存在是因为大家的存在”,是非洲传统的一种价值观。
Ubuntu基于Debian发行版和Gnome桌面环境,而从11.04版起,Ubuntu发行版放弃了Gnome桌面环境,改为Unity。从前人们认为Linux难以安装、难以使用,在Ubuntu出现后这些都成为了历史。
Ubuntu也拥有庞大的社区力量,用户可以方便地从社区获得帮助。自Ubuntu 18.04 LTS其,Ubuntu发行版又重新开始使用GNOME3桌面环境。
在对服务器进行配置与操作前,你需要准备👇:
下载Ubuntu Server 20.04LTS镜像并将其刷入U盘
(建议)在有网络连接的情况下安装Ubuntu Server 20.04LTS
(一). 安装Ubuntu Server
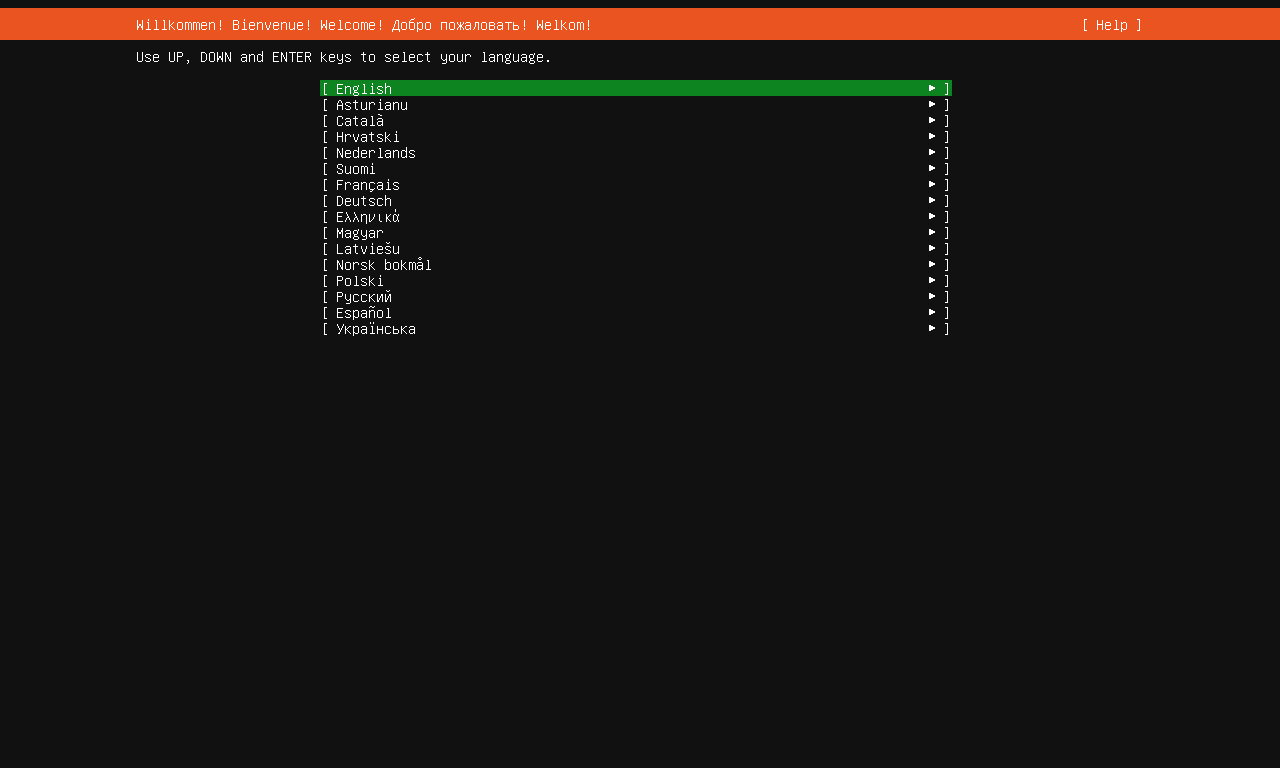
Step1: 选择语言
Tips: Ubuntu Server无简中,本章节将介绍英文版安装。
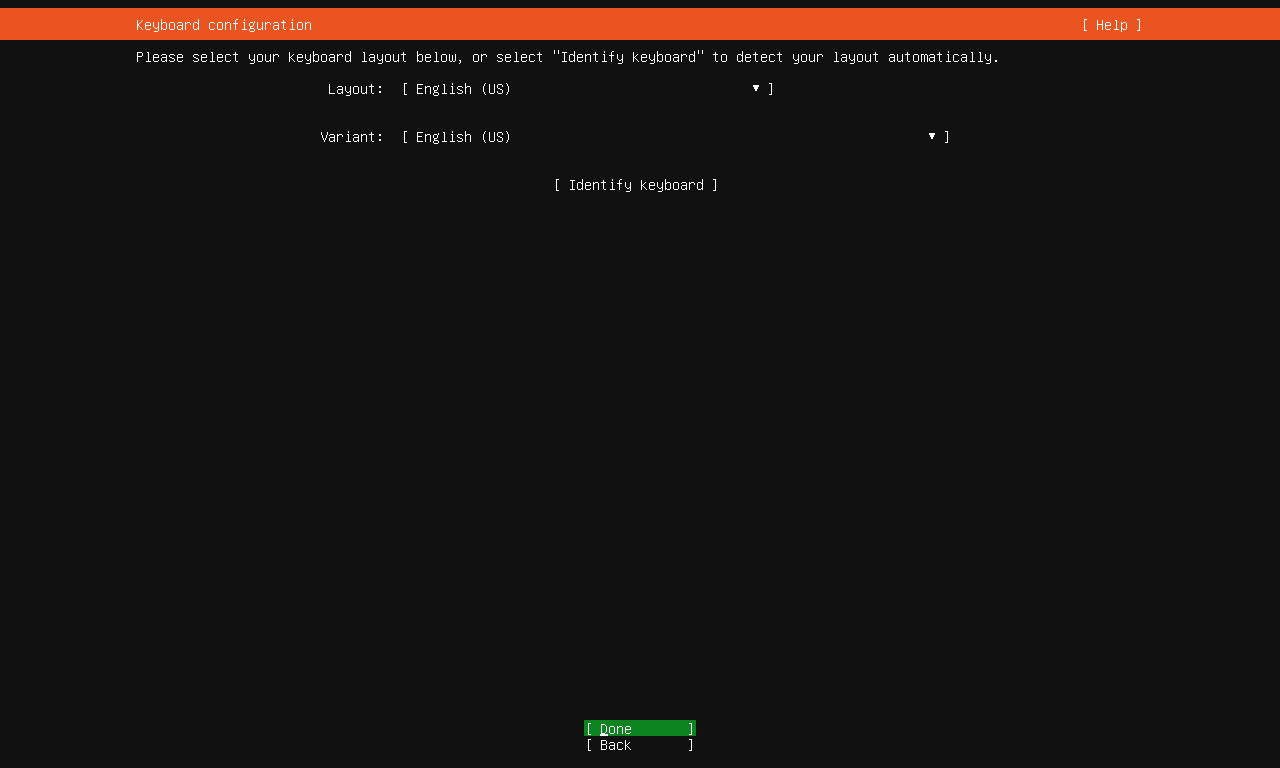
Step2: 选择键盘布局
Tips: 该处使用美式键盘布局即可,通用大部分的键盘布局。
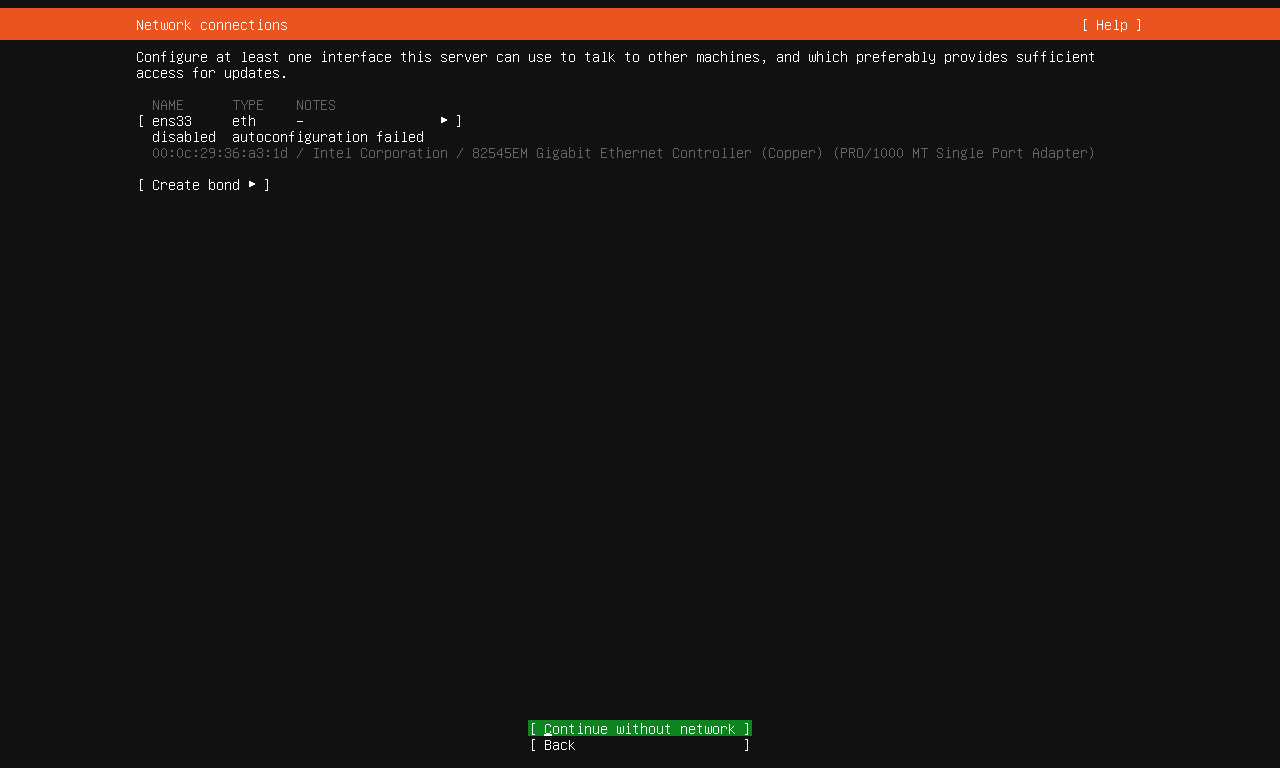
Step3: 网络设置
Tips: 建议在安装过程中联网进行安装,这样既能在后续的安装过程中同步升级软件包。如果选择离线安装,后续官方虽然说可以在安装后进行配置,但在多次配置ip却仍旧无法联网,不知道是20.04版本的小Bug还是其他原因。
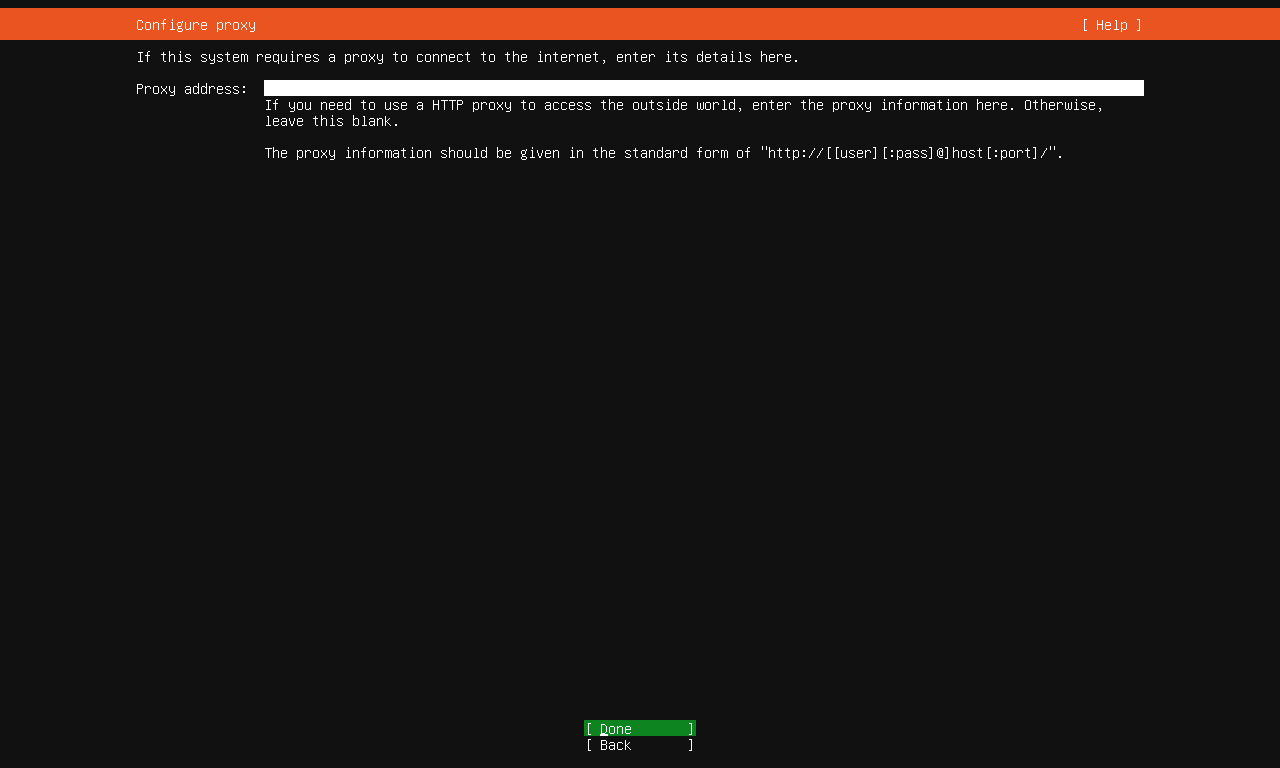
Step4: 代理设置
Tips: 有的话可以填写,本章节暂不进行配置。
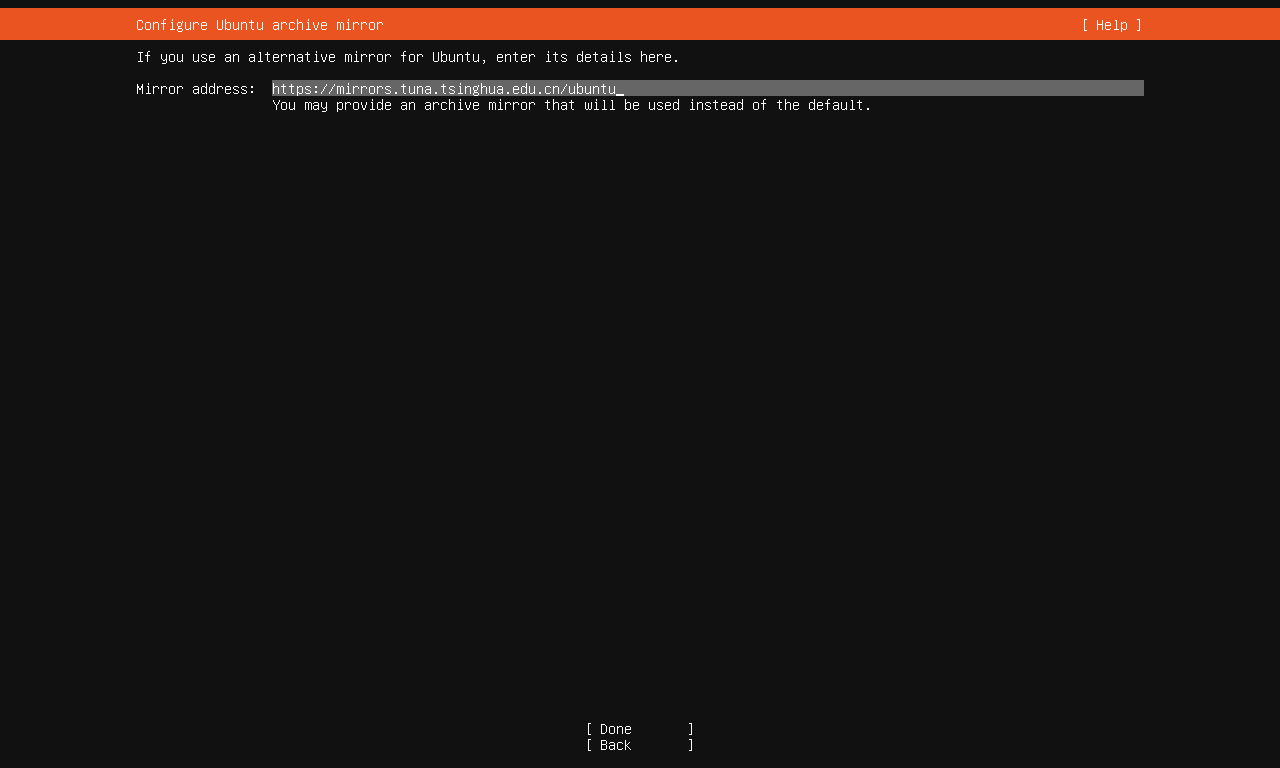
Step5: 镜像源配置
Tips: Ubuntu Server软件下载镜像源可以在安装时进行修改,本篇建议修改为清华大学开源软件镜像:https://mirrors.tuna.tsinghua.edu.cn/ubuntu/
Step6: 引导空间配置
Tips: 可根据需求对引导空间进行调整,本章节暂不进行配置。
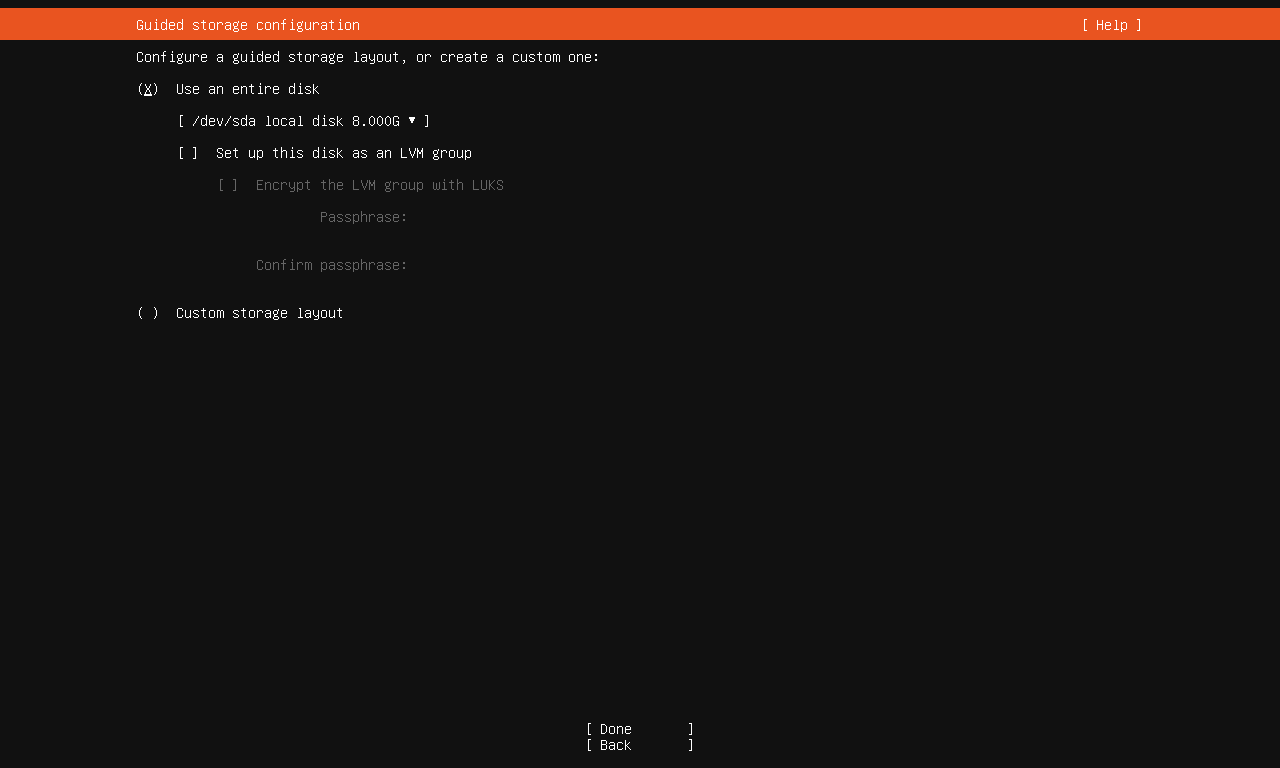
Step7: 分区配置
Tips: Linux对于分区较为敏感,类如:/usr /bin /home /efi等等分区都有及其重要的作用,使用时稍有不慎对系统分区进行错误操作将造成毁灭性的严重后果,此处暂不展开分析系统分区的规则与建议,有兴趣的读者可自行前往Linux官方网站学习。

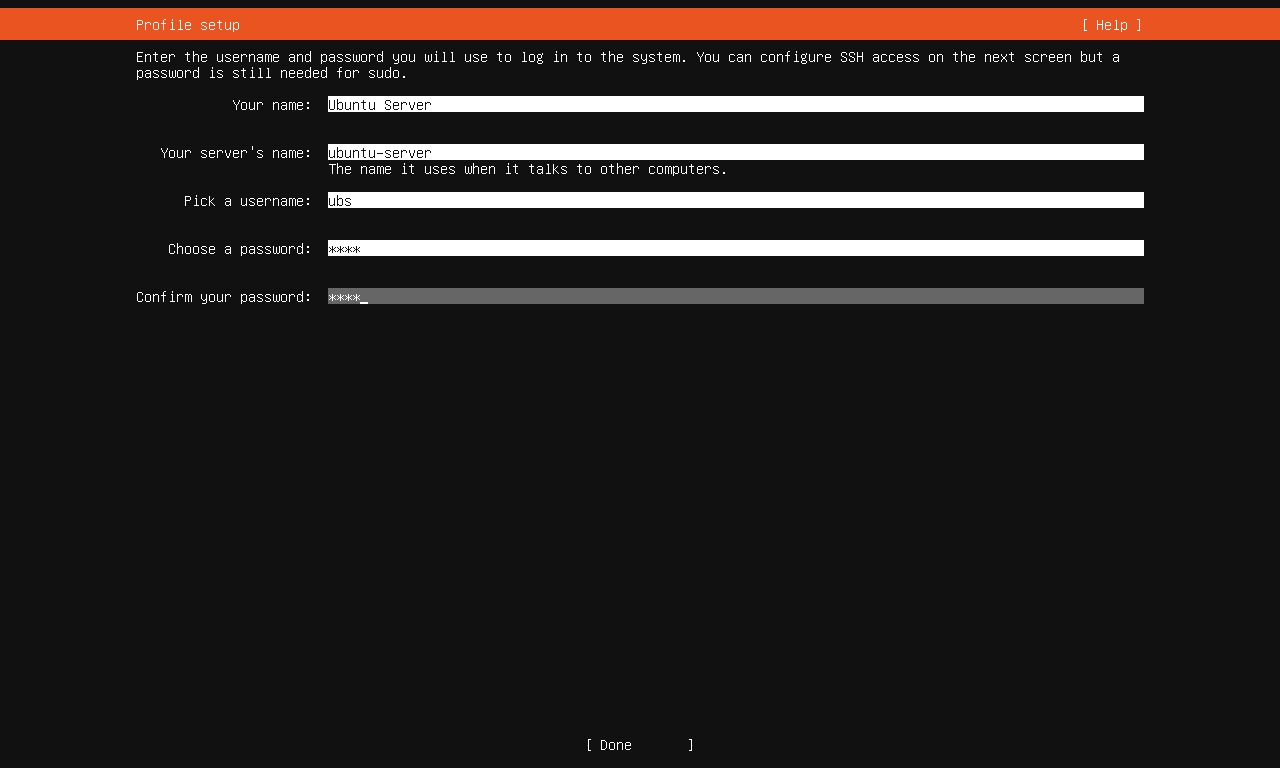
Step8: Ubuntu Server账号配置
Tips: 设置一个账号用以登录系统,此处要注意username的命名限制。
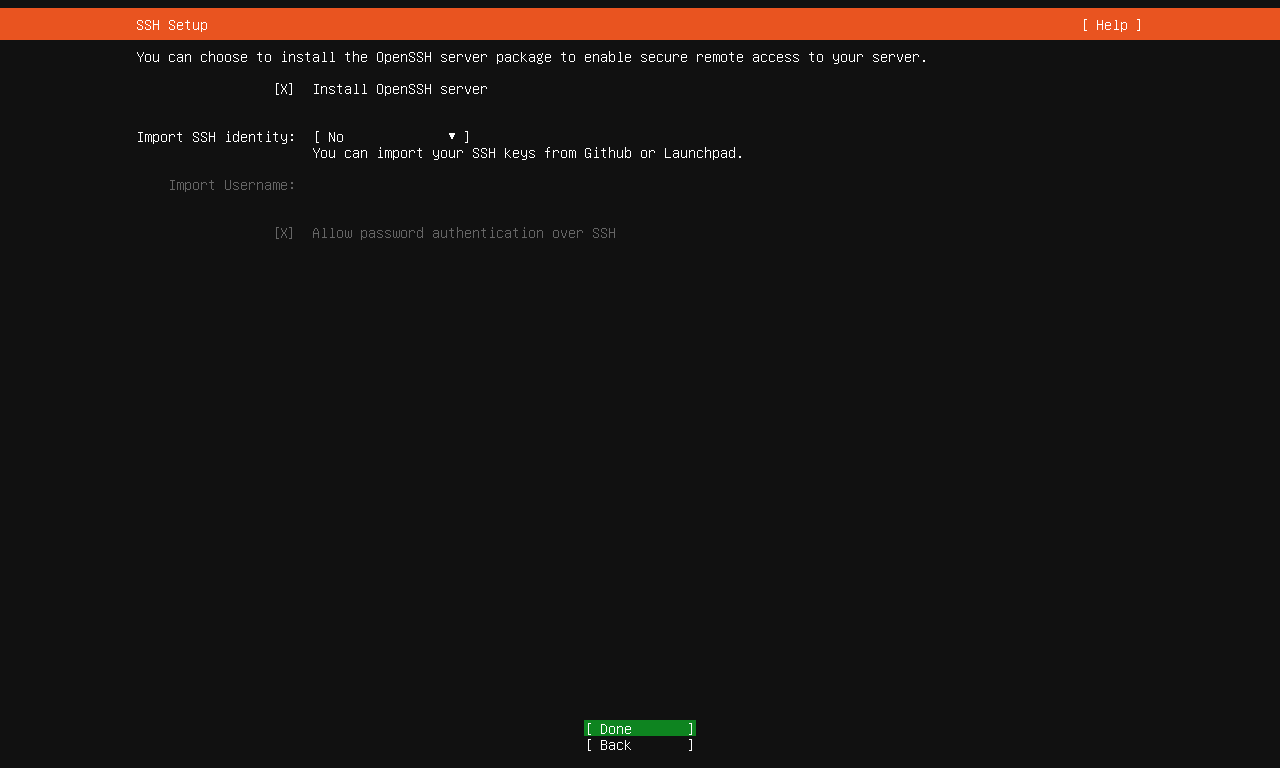
Step9: SSH设置
Tips: Ubuntu Server默认不开放SSH,但配置SSH能使工程师远程连接服务器,本章勾选并下载OpenSSH Server客户端。
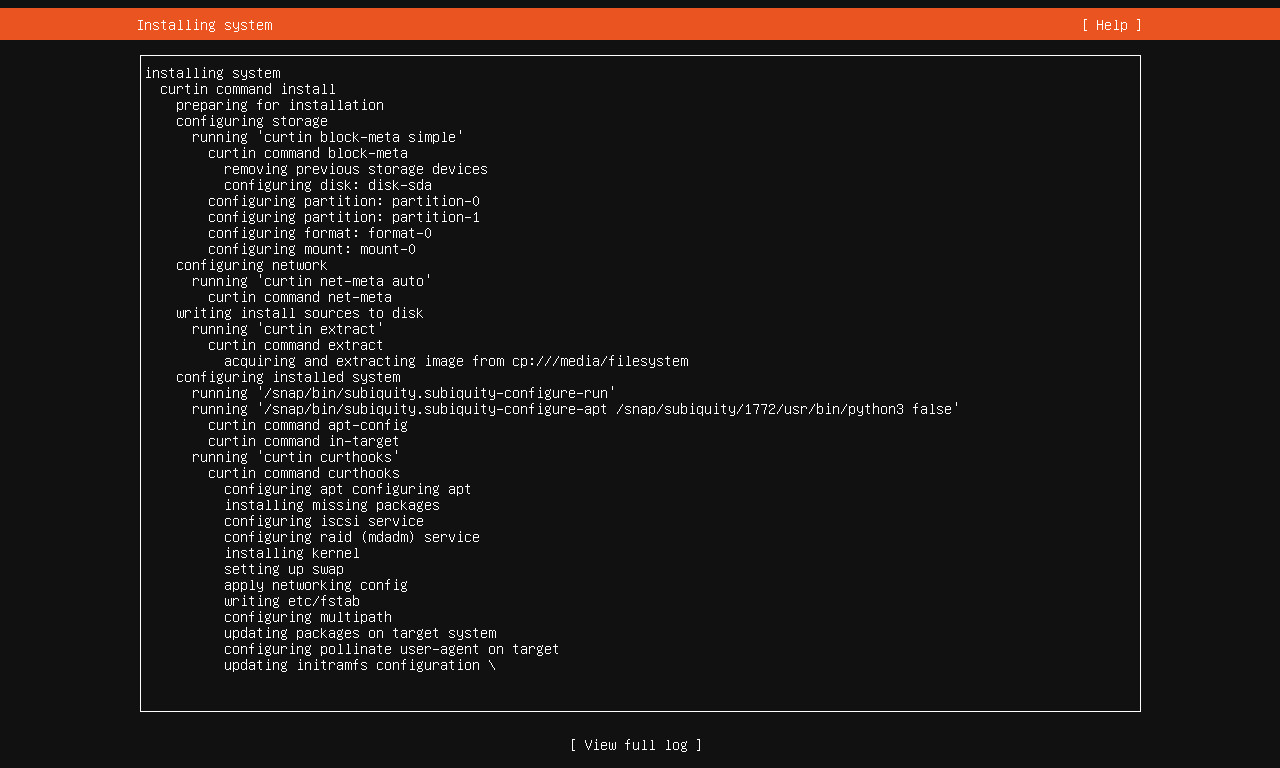
Step10: 等待Ubuntu Server安装结束
Tips: 若用户在联网状态下安装Ubuntu Server时,安装过程中将会自动检测并下载对应软件包更新。系统安装后需要去除安装介质(U盘\移动硬盘\光驱安装),并单击Enter键重启,即安装完毕。
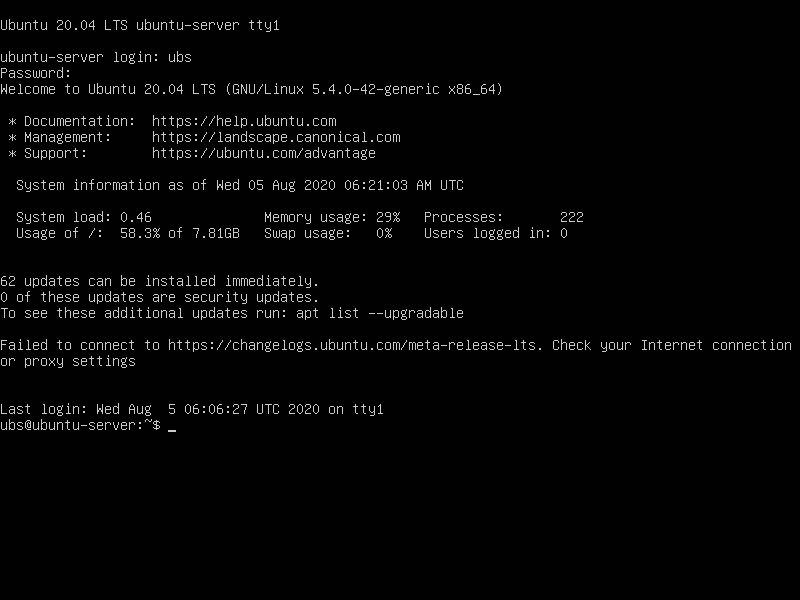
End: 登录系统
(二). 远程连接Ubuntu Server
Step1: 安装net-tools用以查看ip
sudo apt update
sudo apt upgrade

# 若前期安装过程中未联网或未启用ssh的话,需要先下载openssh-server
sudo apt install openssh-server

# 安装net-tools工具
sudo apt install net-tools
Step2: 查看本机ip
sudo ifconfig
Step3: 修改远程访问权限
# 修改该文件中PermitRootLogin的值为yes
vim /etc/ssh/sshd_config
Step4: 使用指令查看ip
sudo ifconfig

# 查看ip地址
ens33: flags=4163<UP,BROADCAST,RUNNING,MULTICAST>  mtu 1500
        inet 192.168.116.134  netmask 255.255.255.0  broadcast 192.168.116.255
        inet6 fe80::20c:29ff:fecb:6b67  prefixlen 64  scopeid 0x20<link>
        ether 00:0c:29:cb:6b:67  txqueuelen 1000  (Ethernet)
        RX packets 47090  bytes 68633562 (68.6 MB)
        RX errors 0  dropped 0  overruns 0  frame 0
        TX packets 6040  bytes 421820 (421.8 KB)
        TX errors 0  dropped 0 overruns 0  carrier 0  collisions 0

lo: flags=73<UP,LOOPBACK,RUNNING>  mtu 65536
        inet 127.0.0.1  netmask 255.0.0.0
        inet6 ::1  prefixlen 128  scopeid 0x10<host>
        loop  txqueuelen 1000  (Local Loopback)
        RX packets 190  bytes 16652 (16.6 KB)
        RX errors 0  dropped 0  overruns 0  frame 0
        TX packets 190  bytes 16652 (16.6 KB)
        TX errors 0  dropped 0 overruns 0  carrier 0  collisions 0
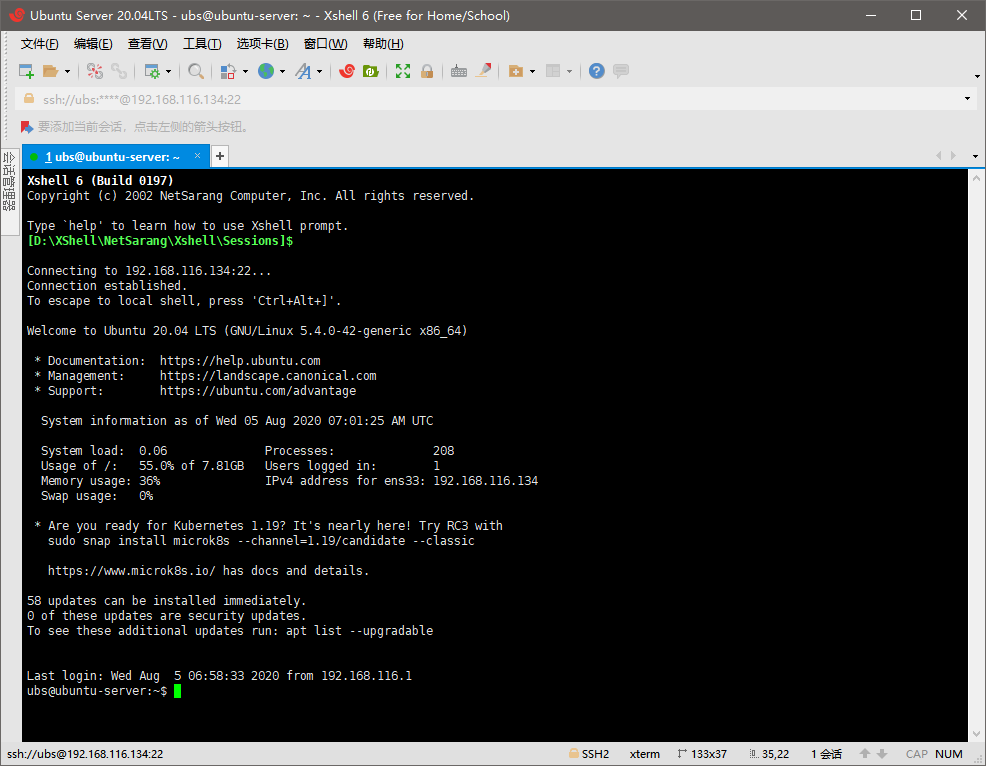
Step5: 使用远程链接工具链接
Tips: 本章节选用XShell进行远程连接。
(三). Server常用命令
# Scan local disk
sudo fdisk -l

# Check disk information
sudo df -HT

# Create test dir
sudo mkdir xxx
# Eg: that you can create a test folder
sudo mkdir /test

# Mount a HDD/SDD to your system
sudo mount xxxxxx xxxxxx
# Eg: you can mount /dev/nvme0n1 with you localDir with /data
sudo mount /dev/nvme0n1 /data

# Change filesystem to xfs
sudo mkfs.xfs xxxxxx
# Eg: you can make the default change to the disk into xfs filesystem or the other filesystem you want to change(eg: ext4, ext3, ntfs)
sudo mkfs.xfs /dev/nvme0n1

# If you want to set the block size to another big one, try to add '-b size=8k'
sudo mkfs.xfs -b size=xx xxxxxx
# Eg: you can change the /dev/nvme0n1 into xfs with it's blocksize=8k
# NOTICE: disk blocksize can not bigger than system default page size
sudo mkfs.xfs -b size=8k /dev/nvme0n1

# Get default system pagesize
sudo getconf PAGESIZE

# Reboot the computer immediately
sudo reboot -h now

# Shut down the computer immediately
sudo shutdown -h now
(四). 通过”dd”关键字对硬盘进行读写测试
# R/W Test
# The server's write file size is usually 4k and 8K, here the disk will be written test from 4K, 8K, 64K, 1M order, and after the memory cache is cleared, the 1M file on the disk will be read and deleted.

# Create Tiny Size Test File &&  Start Write Speed Test
sudo dd if=/dev/zero of=./largefile bs=4k count=1024

# Create Small Size Test File &&  Start Write Speed Test
sudo dd if=/dev/zero of=./largefile bs=8k count=1024

# Create Middle Size Test File &&  Start Write Speed Test
sudo dd if=/dev/zero of=./largefile bs=64k count=1024

# Create Large Size Test File &&  Start Write Speed Test
sudo dd if=/dev/zero of=./largefile bs=1M count=1024

# Remove RAM Cache
sudo sh -c "sync && echo 3 > /proc/sys/vm/drop_caches"

# Check Read Speed
sudo dd if=./largefile of=./null bs=8k